
But I do have this project I haven't shared yet.
The other week, Stephen was out of town. I HATE when he goes out of town - I can't sleep because I'm too busy listening for intruders. I've found it easier to just stay awake as long as I possibly can.
Since this was a planned trip, and not being called out in the middle of the night, I was prepared. I bought all my supplies the week prior, and was ready to go as soon as I finished up work for the day.
Oh yeah... here's what I did!

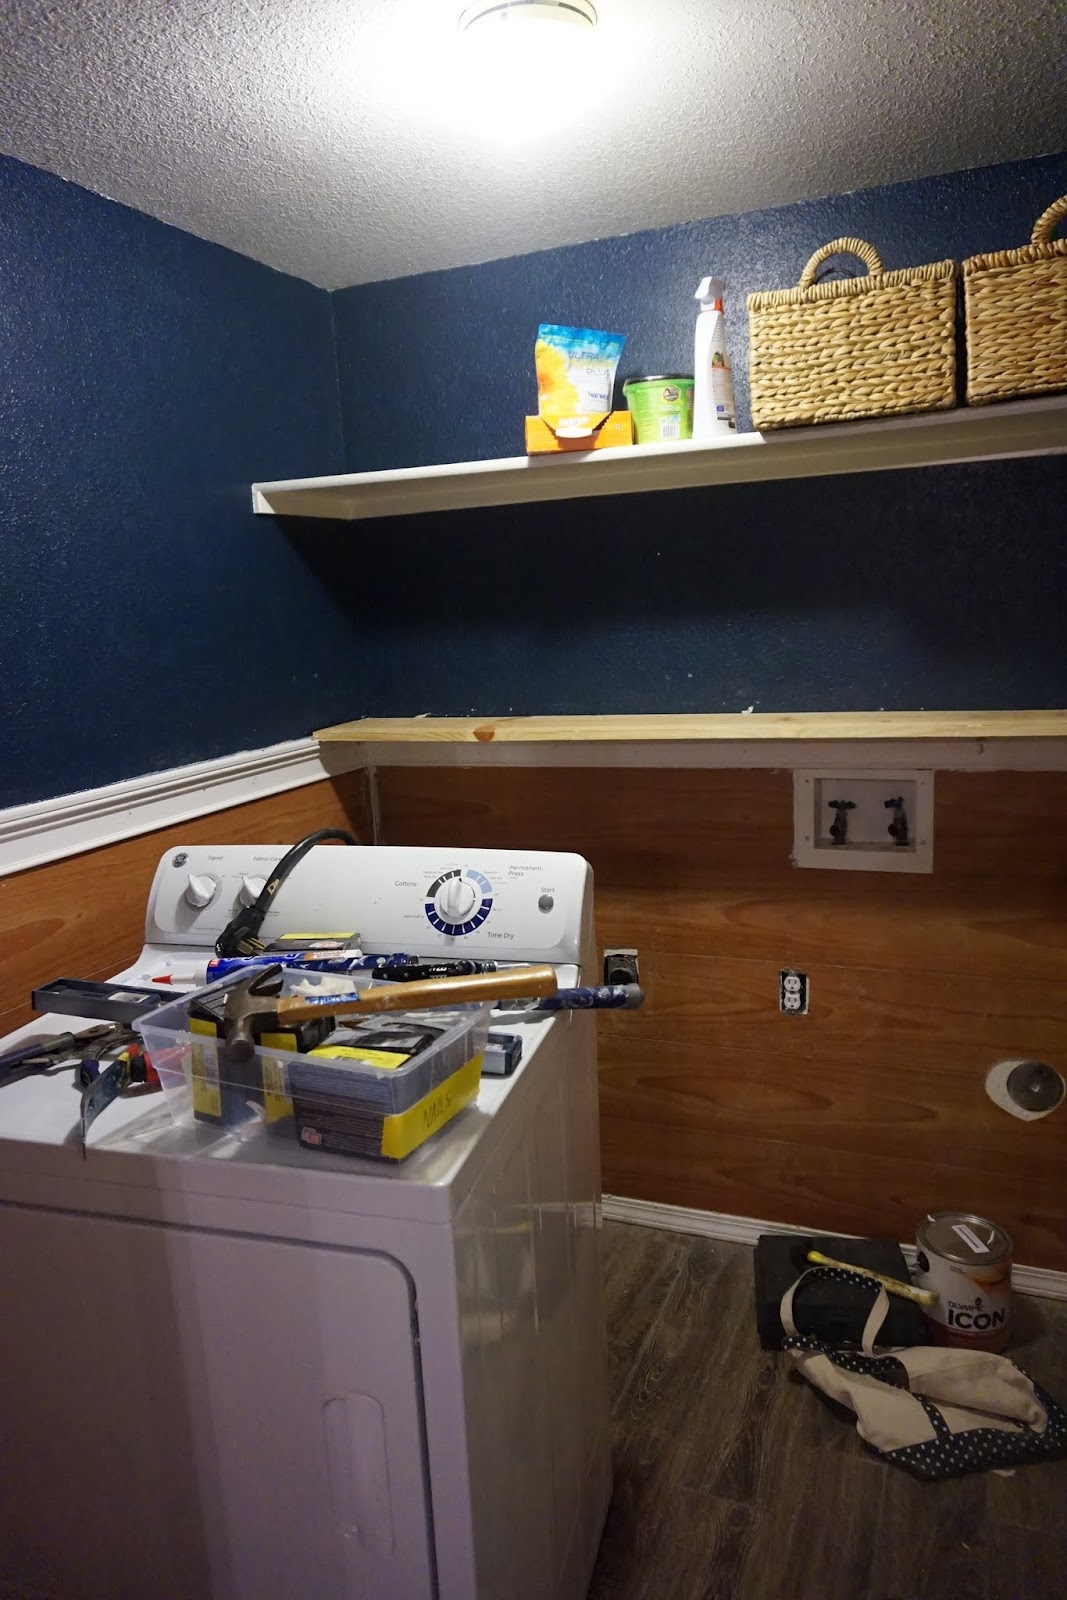
And the before.

I had kind of been playing with the idea for a while, by painting the upper half of the wall just to see what it would look like and coordinate with the living room. And I can always use more storage.


I like that the navy coordinates. I even painted the bathroom (directly across from the laundry room) the same color navy. I have a problem.
Anyway, here's how it worked! I am lacking in several pictures because I did this ENTIRE project all by myself *beams with pride* - the only thing that Stephen helped with was loading stuff from Lowe's into the car!

I decided to put the paneling on so the grooves run horizontally. I thought it looked a little modern (who thought I would be referring to wood paneling when saying that!) and there are only 7' ceilings in here, so I thought it might look bigger (it does, but I'm not sure if that's why).
After measuring (a thousand times) and cutting, I just set the paneling on top of the trim, and with the chair rail, the final height ended up being 46" from the floor. I chose this for this reason...

Just replaced the old window sill trim with the moulding, to look like it's always been there.
I secured the paneling with Liquid Nails, and immediately went over it with finishing nails to hold it in place while it dried. Not an easy feat with only one person.

And then I got to this wall. You can't see this wall at all when the appliances are in place, so I wasn't worried about being exact... but now I wish I had taken a little more care. It was almost 2am by this point, though, so I wasn't feeling it.


...whoops! Not quite! Just one more cut and I was good to go though.
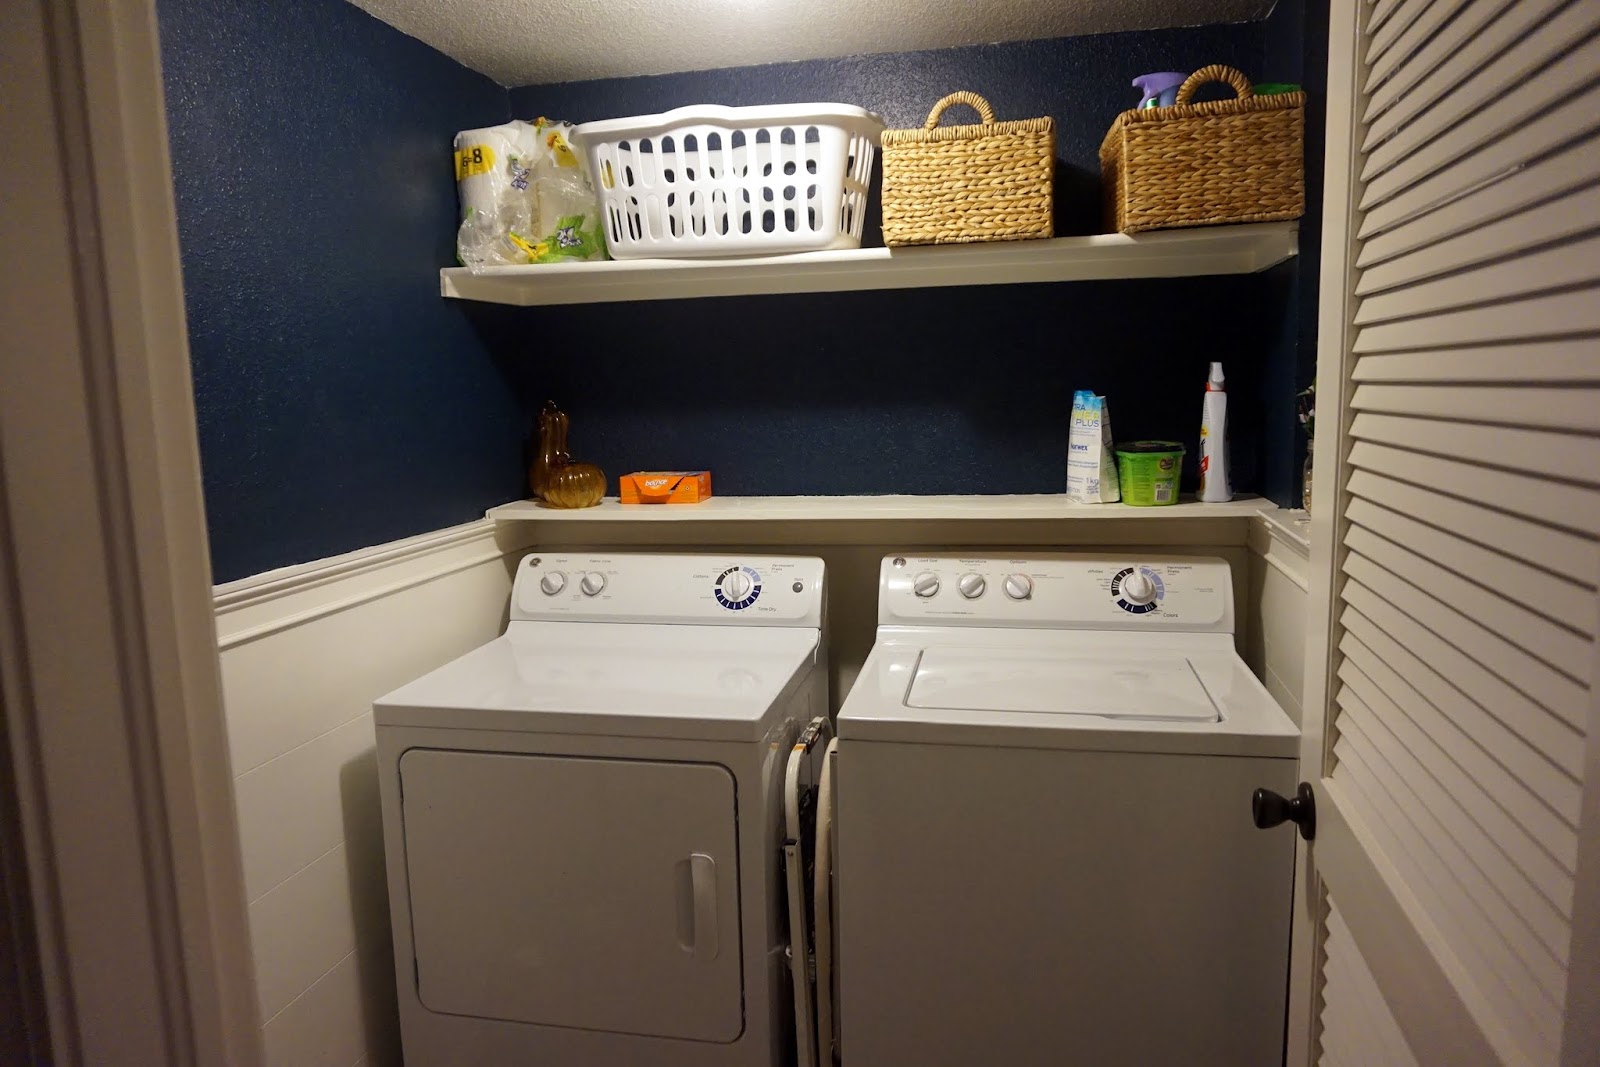
After attaching the moulding by myself somehow (with Liquid Nails and finishing nails), I cut a shelf, using the moulding as the bracket - essentially doubling the amount of storage I had in this room.
And... after caulking, painting, moving the washer back in, and adding some $10 baskets from Marshall's, I was back in business!
The supplies I used were:
Faux wood paneling, 3 4x8 sheets - $30
MDF trim, 3 8' pieces - $45
Gallon of Valspar "Fly-by-Night" - $30
Gallon of Valspar "Cream Delight" - already on hand from painting doors/trim/window sills
Liquid Nails, 1 tube - $4
Caulk, 2 tubes - $6
Overall, it took me about 6 hours, and I still have a little bit of caulking to do (and finding a new switch plate, because the old one doesn't fit with the moulding in place).

I like leaving the laundry room door open now. It has been really fun to experiment with dark colors in this house, and having a coordinating color in view just pulls it all together. That room used to be linoleum, too... poor room used to be regarded as some sort of utility corner.
But now I'm all like, WELCOME TO THE FAMILY, LAUNDRY ROOM!
Yeah, I think I'm writing this too late. Good night, readers. Good night, Laundry Room.


Great job Emma! I can see why you want to leave the doors open. You never cease to amaze me with your projects. Can't wait to see what is next!
ReplyDelete