
 |
| posted by Diana |
Not only did the little bundle I purchased include a full-sized magazine and an entire project kit, but it also had a mini-mag insert complete with eight project instructions. This month, the mini-mag was all about pom-poms. I used to be a no-frills type of gal, but I've come around to interesting adornments on clothes... it was only a matter of time (what with my massive yarn stash) before pom-poms entered the mix.
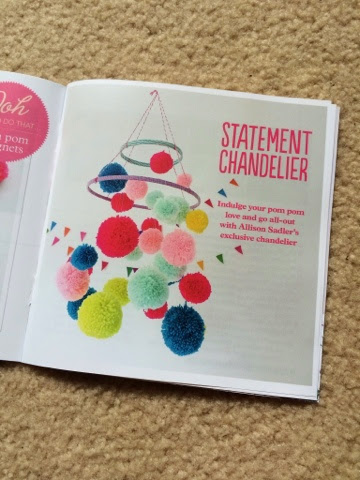
Case in point, this pom-pom statement chandelier. It does make a statement... a definitively weird and kitschy one... but I was drawn to make this project anyway.

The magazine recommends using embroidery hoops, but I had 16 gauge wire on hand already. In addition, I picked up some washi tape to wrap the wire and some twine to tie it all together.

I cut my wire to two different sizes. This wasn't scientific at all--I just eyeballed it.

Then, I wrapped the wires all up with my washi tape. I chose the pink one because I was going for an ice-cream shop color scheme.

 |
| Here's the yarn before. |
 |
| And during. |
 |
| And after! |
This project came out way cuter than I thought it would! I still need to washi tape the pom-poms to the wire base so they don't crash down, but I'm still experimenting with their positioning. I think this project would look super cute in a little kid's room (and I'm planning on giving this one as a gift... is it bad etiquette to put a present on the internet before it's given?).
Happy making!


No comments:
Post a Comment
Give us your feedback!