
 |
| posted by Diana |
I decided that, if I only had time to make one Halloween decoration this year, it had to be some creepy apothecary jars. I've always thought they were really neat, but I've never taken the time to make them... and I've never purchased them because I knew they were super easy to make. Story of my life...

These jars really are so easy to make! I just saved the jars from my Hubert's lemonade and I already had the rest of the supplies in my crafting stash (and pantry...).

To make your own, all you need is:
- Computer paper
- Glue
- Glass jars
- Black tea
- Tapered candle
- Lighter
- Sharpie
- Baking sheet (not pictured)
- Hot water (not pictured)
- Burlap or scrap fabric (not pictured)
- Twine (not pictured)
- Paint (optional)

First, I put my computer paper in on a baking sheet. Easiest first step ever. Then I brewed a cup of Earl Grey tea. I put two bags in my cup and let it steep about five minutes.

Then, I poured my tea over the paper and squeezed the excess tea from the bags. I broke one of the tea bags when I was trying to get the tea out, but it was worth it--most of the coloring in my tea bath came directly from squeezing out the excess.
After my paper soaked about fifteen minutes or so, I preheated the oven to 200 degrees, drained the baking sheet, and popped my paper in the oven. Initially, I put my paper in the oven flat, but, after five minutes, it still wasn't dry, so I crinkled it up a bit to help it out.

A few minutes later I upped the temperature to 215 degrees and re-crinkled the paper.

After a few more minutes, the paper was finally dry enough that I could make my labels!

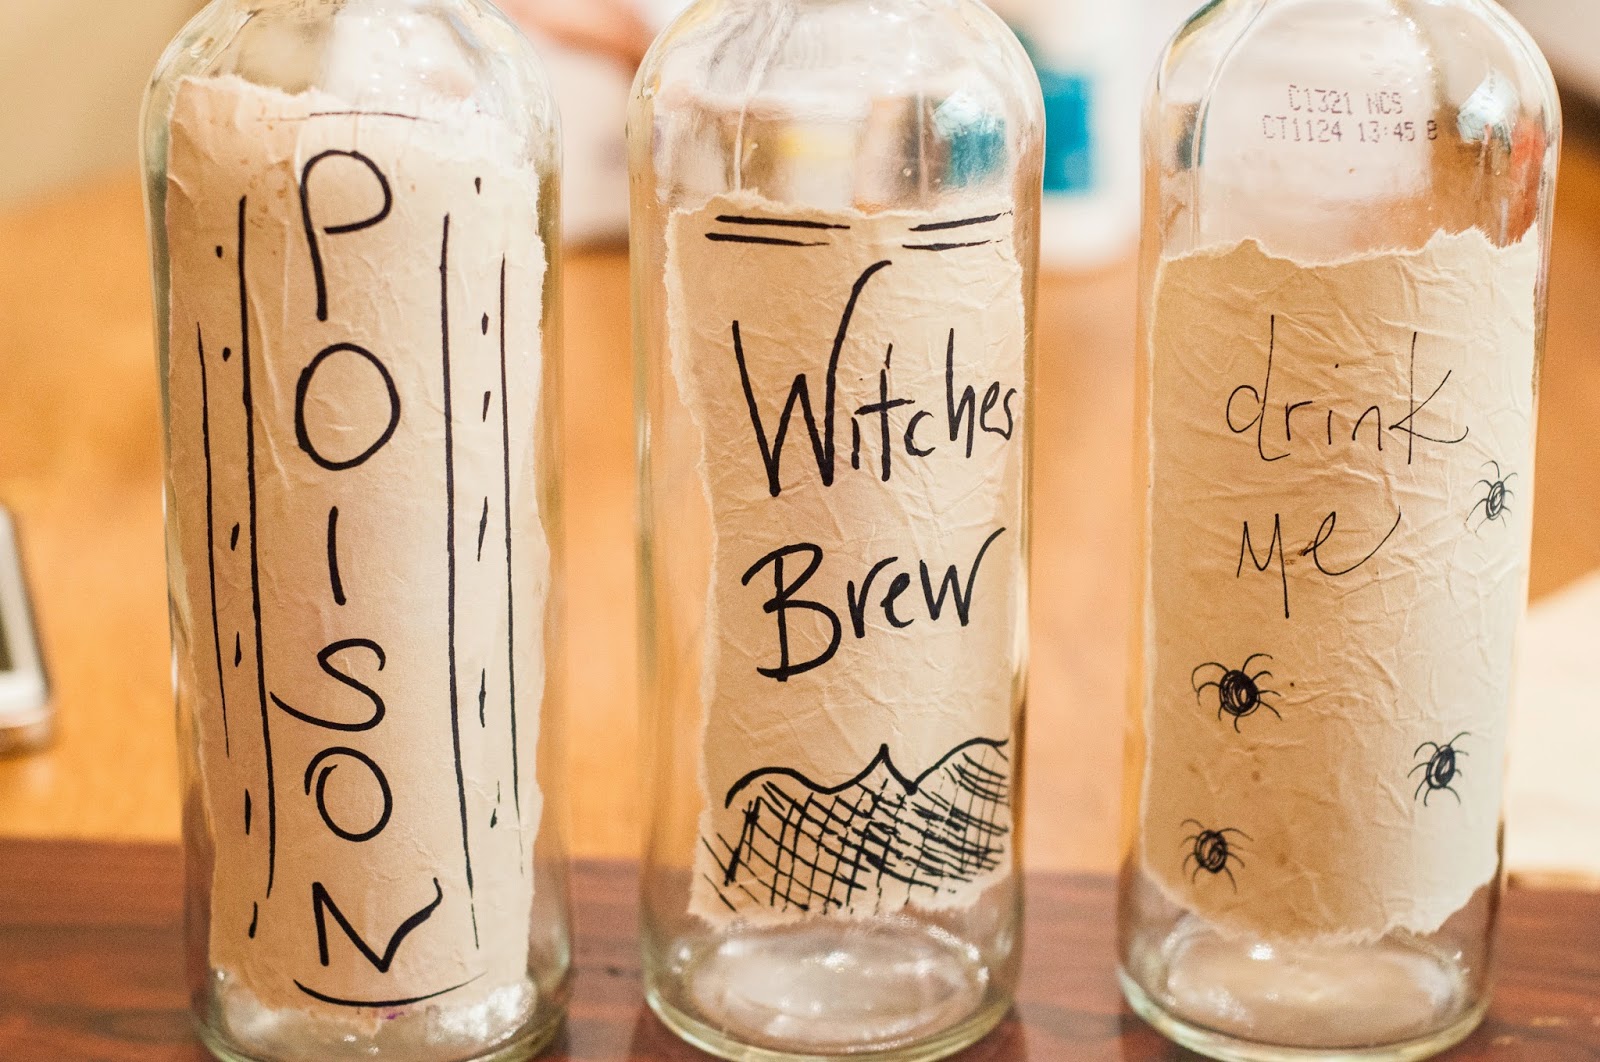
I ripped the paper into rectangle shapes and started doodling.

I used an Elmer's glue stick to apply my paper to the jar. I was going to use Mod-Podge to paint the glue on, but this Elmer's glue did the trick just fine with less clean up.

Since I had an abundance of jars, I made a few more labels.
Then I got to the fun part. I lit my candle and dripped wax all over the bottles. I found that the best method was to tilt the jar with one hand while tilting the candle upward with the other hand. Doing this made the best and longest wax drips. Once the first wax coat dried, I went back over each jar using the same angled method to get more wax layers.

Even with the wax coating, the jars looked a little unfinished. I decided to add some burlap to the tops of the jars. I think muslin or cheesecloth would also look nice.

And they look much more finished with "lids"! I tied on the burlap and trimmed the fabric so it was flush with the necks of the bottles. I didn't worry about making it look pretty and perfect because that wasn't the look I was going for.

And here they are, looking all awesome and back lit!

I could have stopped here, but I thought the jars were still looking a little cutesy... and I'm sure the pink twine I used isn't helping. I dug through my paint stash and came up with this...


I think the jars look much creepier and less cutesy now! My favorite part is how nicely my hand print actually stands out.

Happy making!


No comments:
Post a Comment
Give us your feedback!