
 Before I even moved in, I had big plans for our bedroom... namely, I really, really wanted Stephen to build me Ana White's Farmhouse Bed.
 I'm still drooling over it.
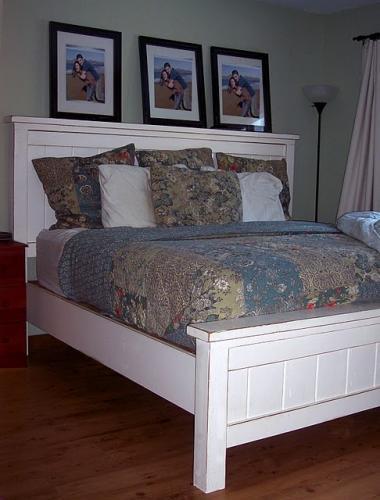
Coming to the conclusion we don't have enough space for it in our bedroom was hard for me. To deal with it, I decided to try my hand at another DIY project. Such therapy!
I wasn't enamored with the idea of an upholstered headboard, but I knew it was a project I could tackle myself, plus, it's super flexible. I'm a huge sucker for being able to customize things, so this project was right up my alley. And, it can be inexpensive enough that I wouldn't feel bad trading it out later. Win win win.
There are literally hundreds of tutorials online for upholstered headboards, but the ones I used were this one (from the Hunted Interior) and this one.
All it took was to look at these headboard shapes and it was really easy for me to pick out what I wanted, for once!

Portman was calling my name, although I'd love to try the Cavendish or Bonn next time. They just feel.... royal. And since our bed is in the center of the room, and our bed is unusually high off the ground, that's how I wanted to feel. Living out my childhood dream of being a princess, I guess. I'm lucky Stephen goes along with it... although I'm not sure he knows it?
Anywho, paying for that royal feeling can get a little pricey... like... $600 from Pottery Barn. Blerg.

Beautiful, but yikes.
So I dove in. Here are my process pictures.
Cutting out my Portman with a jigsaw (I just made up my own dimensions after measuring around my bed). I used 1/2" plywood since I didn't want it to be very heavy, as it was going to be mounted on the wall.


Added foam (I used 1" foam seat cushions which worked fine, but you can also buy in larger sizes so you won't have a puzzle like I did) - I just adhered it with wood glue. Not quite finished in this picture.

And folded batting over everything (2 layers!) using a staple gun to attach in the back. (It's not actually attached in this photo, but I can't find one where it is. The wrinkles disappear when you pull the batting taut. Also that's just a color swatch I ended up not using).

Then I covered it in fabric using a staple gun... nice and smooth! MUCH easier if you have another person to help you keep it nicely stretched which you are stapling. And to take pictures for you.

And then, the hard part. Initially I bought individual nails and tried doing them one by one... what a disaster! They were so hard to space perfectly, and they all seemed to end up going in at a different angle. I'm not sure why this was so difficult, but it pretty much ruined the headboard. So out they came!

I ended up buying the kind of faux nailhead, which comes on a reel and you only hammer in one of every five nails. It's so much easier to keep straight... look at the difference!


I couldn't wait to hang this up on our boring bedroom walls. Flush mount brackets are kind of annoying to use... your measurements have to be perfect to fit it up. Thankfully, due to some careful measuring and drilling, Stephen got it up on the first try. You go boy!

In the future I want to lower it a little bit, so you can't see the edge above the mattress. But as you can see, Stephen was tired, so we didn't get around to it that night....

I love it. It's super plush, and super flush to the wall, so we're not losing any bedroom space.
Here's a breakdown for ya'll.
I used
- 2 yards fabric $12
- 4x8 1/2" Plywood $15
- Quilt batting $12
- Foam padding $14
- Nailhead trim $20
- Flush mount brackets $5 (if you mount to the wall)
TOTAL: $78 (sure beats a $600 price tag, huh?)
As for tools
- Jigsaw
- Staple gun and staples
- Hammer
- Drill (if you choose to wall mount your headboard)
And that's it! This was a super easy project that I know anyone can do. Hope you feel inspired! I love this headboard so much I've almost forgotten about the farmhouse bed I wanted Stephen to build. Almost.
What are your favorite DIYs to decorate your home? Specifically your bedroom?
 |
posted by Emma
|


Portman was the best choice! Looks awesome--props to Stephen for letting a sleeping picture make it to the blog. ;)
ReplyDeleteHahaha... Not sure he found out about that until it was too late... :)
ReplyDelete