

Oh, summertime.
108 degrees is just lovely. Charming. Pleasant. Couple it with a hot breeze and you might think you're in heaven. (Or, you know, just the opposite.)
But then I make myself believe that summer is a good time for wood projects like this one, because paint, stain, and polyurethane dry so quickly (as long as the humidity is low). There's so much daylight, you can do it in the garage after you get home from work. Right? Summer ain't so bad.
Anywho, let's talk tables. I've been posting a lot of pictures of my living room lately (because of our flooring update)... have you been eyeing my super sexy coffee table? (did you think I was going to say husband? I almost did.)

Well, it didn't start out that way. But I look back on my $20 Goodwill find with fond memories.
 |
| (Ignore the spray paint in the corner, I forgot a before picture without it!) |

My favorite thing about this table was its length - a good 12 inches longer than our Ikea lack table. But the color was too orange-y in real life, and the finish was worn pretty much all over.
So, time to strip. I used Citristrip for the first time - it says it will strip both paint and stain. The spray paint I tested on the top of the table came off almost immediately! I had to strip it two times to get all the finish off though, but I didn't mind. This stuff smells really good.

 |
| The grooves were kind of difficult to strip.... which is why they ended up getting painted. |

 |
| I was tempted to just leave the natural color - it is so beautiful. See how orange the base looks? |

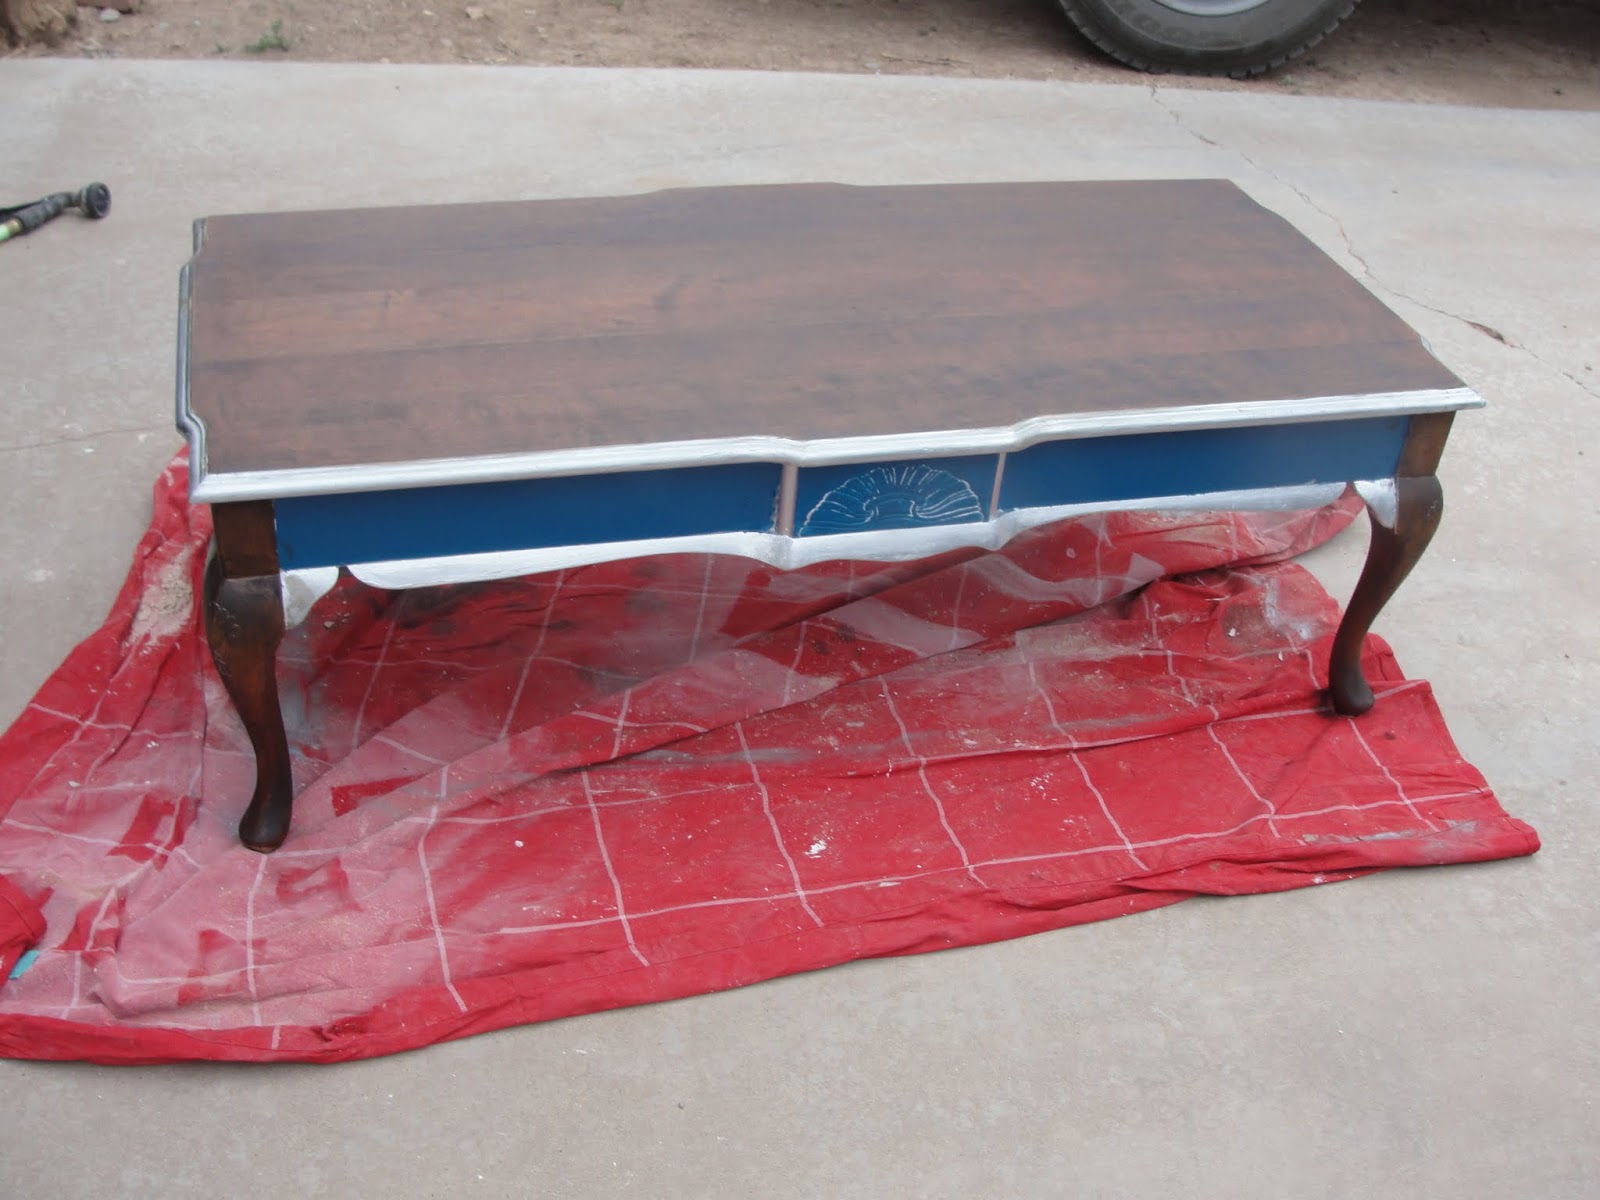
Then I spray painted the parts I wanted to with Rust-Oleum Metallic Silver paint...

And painted the sides blue... ($3 sample pot from Lowe's!)

And stained with Minwax Dark Walnut (two times! This photo is after the first one). I didn't use pre-stain wood conditioner, and it didn't turn out splotchy at all. I have no idea what kind of wood it is (but would love to know if you can figure it out!).
Eventually, I applied three coats of Minwax Fast-Drying Satin Polyurethane. This was by far my most frustrating experience with polyurethane, ever. I had a lot of air bubbles that were very noticeable on such a dark stain that I had to sand out, no matter how much I back-brushed the bubbles! I don't know what happened, but I was not having it. Also, I wish I used glossy poly instead of satin, but you live and you learn.
|
| Without polyurethane. |
So there it is! Originally I meant to put it in the office, which is why I went with blue, but things are changing and there was no more room in there. I'll just keep in the living room a while... and it's easy to repaint should I ever choose to.
I spent more than I wanted to on this little update (free is always better!), but I loved trying new things. Here's the breakdown:
Citristrip $12
Spray paint $4
Paint sample $3
Primer, stain, and polyurethane were all on hand (but would cost about $25 if you had to buy them)
Total cost: $19 (or $44)
And just for fun, here's how it all started...

What projects have you guys been working on lately? Taking advantage of the summer weather for anything?
Happy Monday!
 |
| posted by Emma |


Good job, Emma! But I think you were right about the table...not sure about the husband. :)
ReplyDeleteI'm Anonymous...know who?
ReplyDeleteI would have said Joe, but Joe wouldn't say good job... are you going to tell me?!
Delete